Step-by-Step Guide: Power Automate Custom Connector Using Graph API from Azure App Service
Step 1: Open Power Automate, navigate to the Custom Connectors tab, and select Create from blank as shown in the image below.
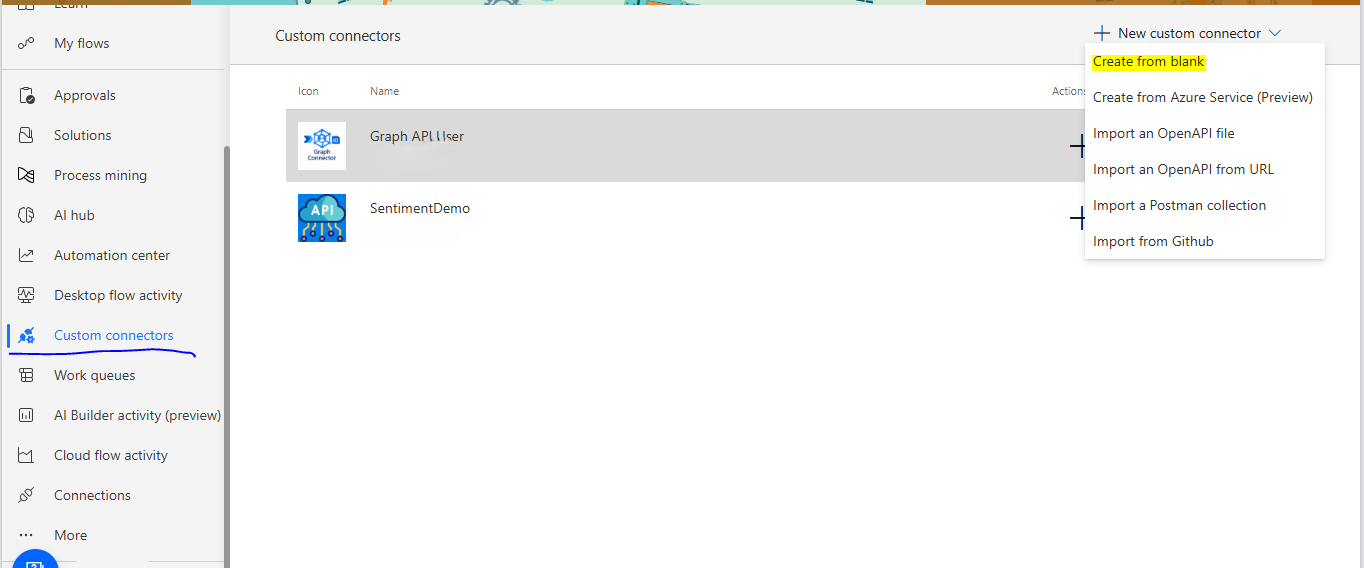 |
| custom connector(click image for better resolution) |
Step 2: In the General tab, upload an icon (less than 1MB), add a description, select the correct scheme (in my case, HTTPS), and provide the host name.
For example, if your API URL is https://graph.microsoft.com/v1.0/users/{email}, the host name will be the highlighted part — graph.microsoft.com.

Step 3: Go to the Security tab.
Here, you need to select the authentication method.
Choose OAuth 2.0 as the authentication type, as shown in the image below.

Step 4: Select the Identity Provider as Azure Active Directory.
Check the box Enable Service Principal Support.
This option allows you to create a connection using a Client ID and Client Secret instead of using the user's own authentication.
Next, provide the Client ID, Client Secret, Tenant ID, and other required details as shown in the image below.
To get the Client ID, Client Secret, and to create the Azure App Service, I have already explained the steps in my previous blog - please refer to it for assistance.
Important: Many people forget about the Redirect URL.
As shown in the image below, you need to save the connector first to generate the Redirect URL.
After filling the initial details, click Update Connector to view the Redirect URL.

Step 5: Once you update the connector, the Redirect URL will become visible.
 |
| Update connector |
Copy the Redirect URL.
Then, go to your Azure App Service, select your app, and navigate to the Authentication tab, as shown in the image below.

Click on Add a platform, then select Web as shown in the image below.

Paste the Redirect URL and click on Configure. That's it!
If you don't do this, you will encounter an error when running the custom connector.

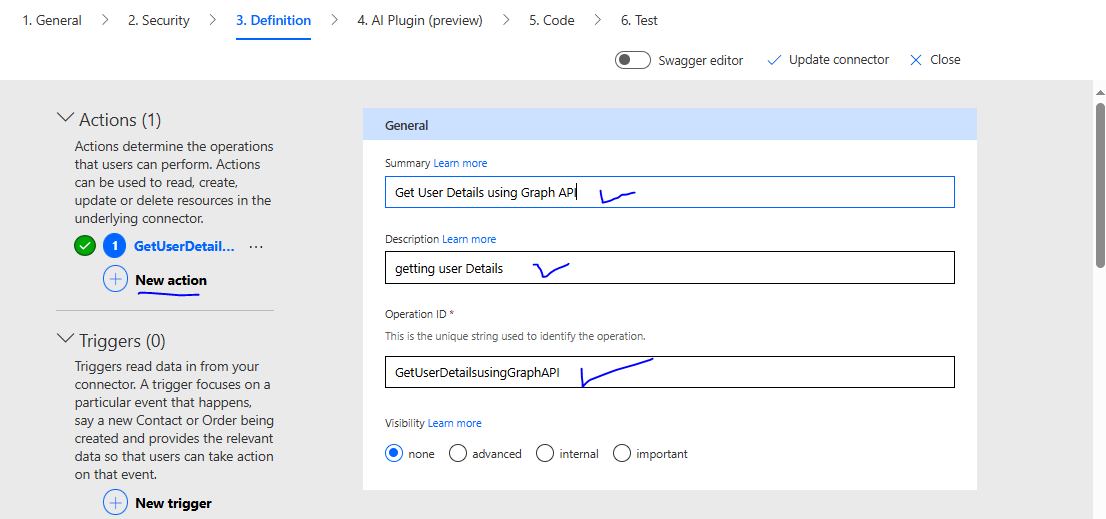
Step 6: Next, go to the Definition tab of the custom connector.
Click on the New Action button, then provide a Summary, Description, and Operation ID (without spaces), as shown in the image below.
Step 7: In the Request section, select Import from sample, as shown in the image below.

Step 8: Select GET, paste your URL as shown in the image, and click Import.
Please note that we are passing the email ID in the URL, which should be dynamic. For now, click on Import.

Step 9: In the Query section, we don't have any dynamic parameters.

Step 10: To make the email parameter dynamic, use Import as shown in the image below.
Enclose the email ID in curly brackets {} to make it a dynamic parameter.

Step 11: Now, you will see the email ID in the Path Parameter..

Step 12: To add a description and other details to this parameter, click on the dropdown icon and select the Edit option, as shown in the image below.

Step 13: Now, you can add details for this parameter. Set Required to True, as shown in the image below.
Once you've entered all the information, click on the Back icon.

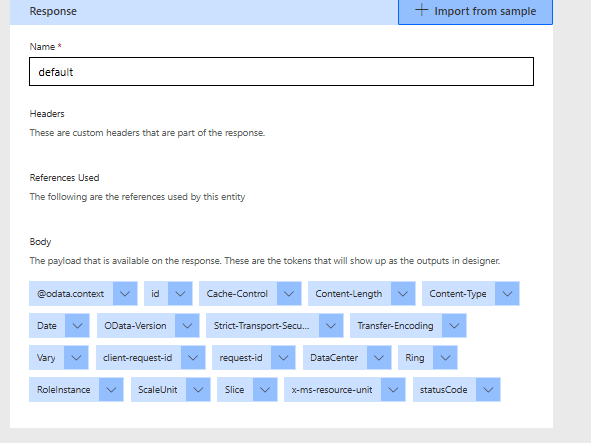
Step 14: Click on Add Default Response. This information will be provided in the API documentation.
If it's a GET URL, you can paste it in your browser to get the result. Copy the response and paste it into the Body, then click on Import.

Step 15: Based on the response, it will display all the results, as shown in the image below.
Step 16: Next, go to the AI Plugin tab. We don’t need to do anything here, so just skip to the next tab, which is Code.
This tab can also be skipped.
Step 17: In the Test tab, we need to create a new connection. First, click on New Connection.

Step 18: It will redirect you to a new page, as shown in the image below.

Step 19: Select the authentication type as Service Principal. It will ask for the Client ID, Client Secret, and Tenant ID. Provide these details and click on Create Connection.

After the connection is added, you can test the connector, as shown in the image below.
Important: Don’t forget to update the connector at the end.

Congratulations! We've successfully created our custom connector. In the next steps, we'll learn how to add it to a Power Automate flow.
Step 21: Create an Instant Flow and search for our custom connector.


Now, the question arises: How do we share the flow with other users, and how will they run the custom connector?
For automated flows, the flow runs based on the flow owner's context, so there are no issues there. But if we’ve created an instant flow, the flow will run in the context of the user triggering it. So, how will this work?
To share the flow with other users, follow these steps:
Step 24: First, we need to share the custom connector with the users who will be running this flow.
Share the custom connector and provide view-only access, as shown in the image below.


You can share it by adding their names in the Run-only users section, as shown in the image below.

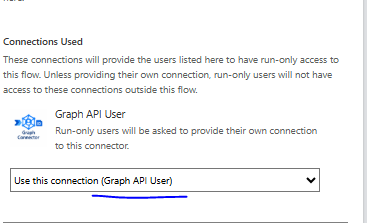
Don’t select the option provided by Run-only users, because if you share it with that option, it will prompt the user to enter their own Client ID and Client Secret.
Instead, use the option Use this connection and select the connection name.

Nice
ReplyDelete