How to Create a Delegated Custom Connector in Power Platform to Call Microsoft Graph API

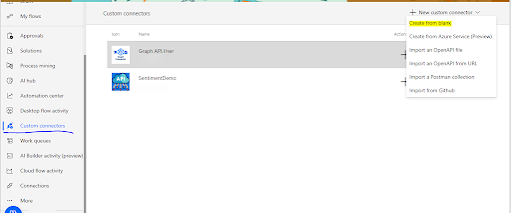
When working with Microsoft Graph API inside Power Automate or Power Apps, many developers face this error: /me request is only valid with delegated authentication flow. This happens because the HTTP connector with client credentials only works with application permissions , which do not provide a user context. If you need to call Graph API endpoints like /me , /me/messages , or /me/events , you must use delegated authentication . The best way to achieve this in Power Platform is by creating a Custom Connector with OAuth2 delegated flow . Step 1: Register an App in Azure AD (Refer for more details: https://mspowerplatformtips.blogspot.com/2025/04/step-by-step-guide-power-automate.html ) Go to Azure Portal → Azure Active Directory → App registrations → New registration . Give your app a name (eg: Graph API Power Automate). Save the app and note down: Application (client) ID Directory (tenant) ID Step 2: Configure API Permissions In your register...
